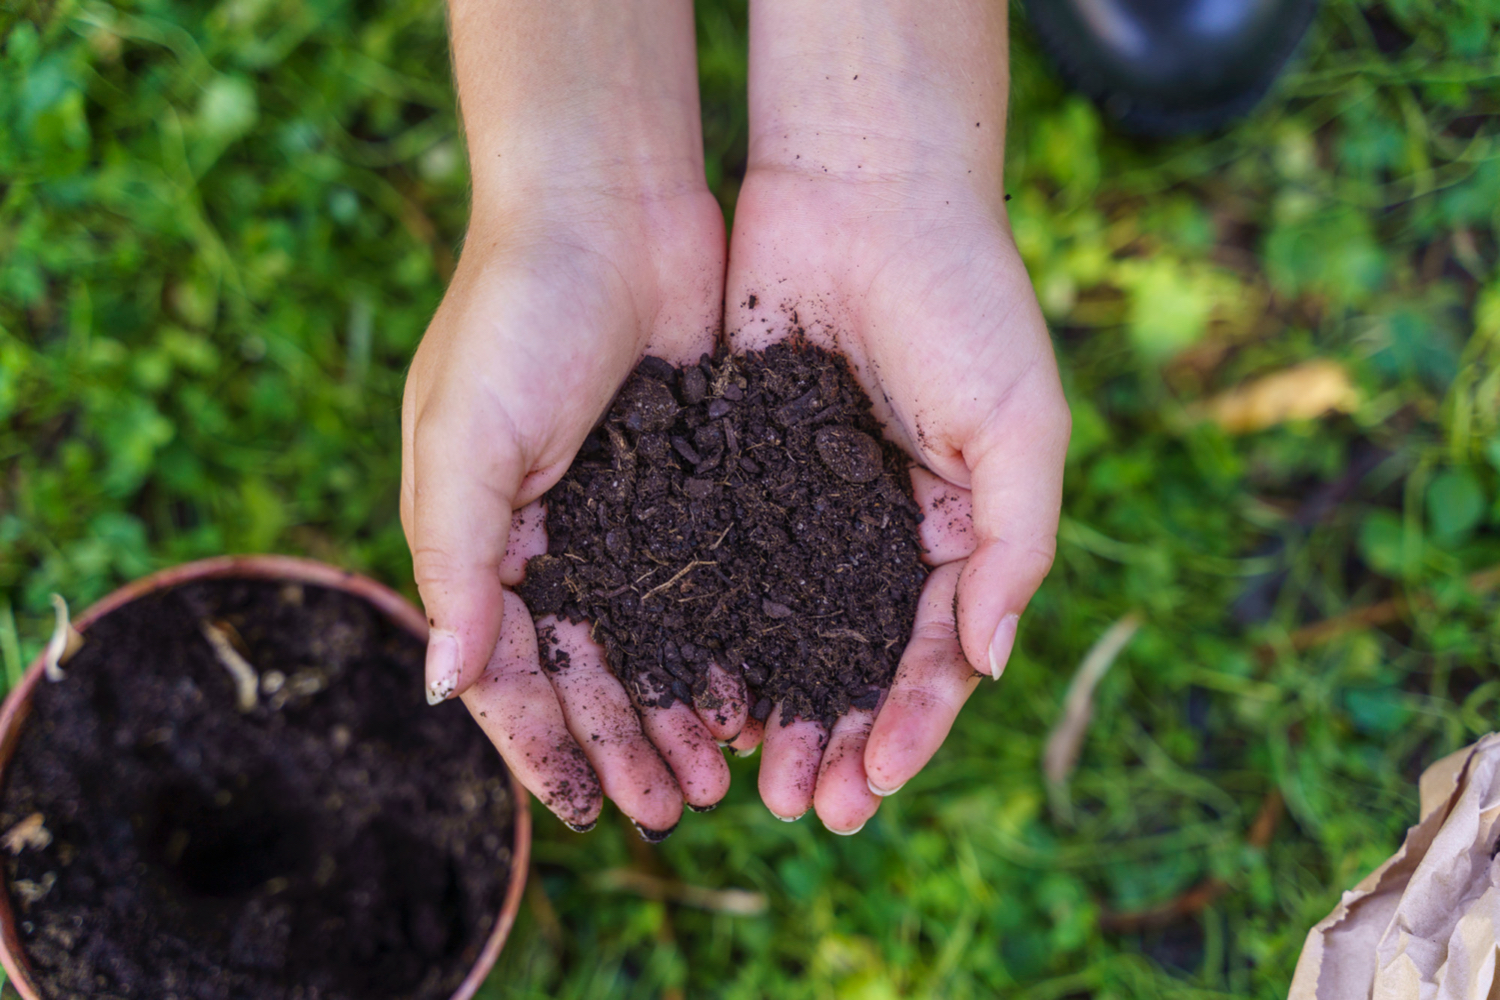
Using Organic Fertilisers
Even if you have the best soil in the world it still needs feeding and conditioning, simply because growing fruit and vegetables in it depletes nutrients over time.
But what are the best ways to naturally fertilise your vegetable garden without resorting to chemical products such as Miracle Gro? I’ll share with you what I’ve been using over the last 10 years and explain to what extent they’ve been helpful in successful growing.
Manure
We’ve all heard stories from grandparents about scooping up horse droppings after the milk cart went by to put on their roses…well, please don’t! Fresh manure is high in nitrogen which can burn your plants. In addition, it may have harmful pathogens such as E.coli which you don’t want anywhere near your veg so it’s best to get manure that is well-rotted. This generally takes 3-4 months and you can tell if it’s ready to use as it’s odourless. In my previously youthful and ignorant state I once had a delivery of manure from a landscaping company to my garden and spread it all over my shrubs. The smell was overpowering and I went to the cinema in the evening then wondered why all the seats around me remained suspiciously empty!
There is some debate over which is better – cow or horse manure. A brief foray online suggests they are practically the same in terms of levels of nitrogen, phosphorous and potassium so either is fine. It all depends on what is more easily available for you to get hold of. I’ve always used horse manure but that’s because a friend’s daughter has horses and was desperate to do something with the excess. Remember – disposing of manure is a bit of a problem for folk in the countryside mainly because it just keeps on coming day after day and needs to be got rid of! If you don’t have handy access to a contact in the countryside then you can buy manure from local farms or stables. This can often be delivered in a trailer and is reasonably priced.
However you get your manure, it usually comes with ‘browns’ mixed up in it – in this case straw from bedding. This is great as it adds carbon to the soil, thus improving soil structure and health. Manure also often comes with worms which are excellent for breaking down and recycling organic matter in your soil. The only thing you don’t want from manure is weeds: this is a common problem as the seeds are ingested as animals graze then you find a whole range of previously unknown weed varieties happily growing in your garden. You can either hot compost the manure for several months to kill the seeds before spreading or dig out the weeds as they grow.
Here’s a useful website that provides some good basic tips on manure: https://www.allotment-garden.org/composts-fertilisers/horse-or-cow-manure/
Another manure option available is chicken manure which is supposed to be excellent. I’ve bought it as commercially-produced pellets to sprinkle on my allotment and have had good results. I’ve also used old goat bedding which is goat poo mixed with straw. I‘ve put this around my onions and leeks which I think has worked well – the straw acts as a mulch to stop moisture from evaporating from the soil during the hot summer months and the droppings provide food for the plants. However, as with cow and horse manure, goat manure needs to be well-rotted.
Worm composting
I started my wormery about 5 years ago and I love it. It’s easy to use and hassle-free. What do you need to do to get worm compost and worm ‘tea’? I provide my worms with chopped up natural waste such as potato and carrot peelings, brassica and salad leaves, old fruit and coffee grounds (although they don’t like citrus fruits and onions, leeks and garlic). I also tear up pieces of cardboard and add it to the tray in their wormery (at a ratio of 70% organic matter to 30% cardboard/woodchip/newspaper) as this helps to create air spaces in the wormery.
In return my worms provide me with a rich organic fertiliser which is basically their casts. You can put this on your vegetable and fruit plants to provide some wonderful nutrition as they grow. The other by-product is worm ‘tea’: my wormery has a tap at the bottom and I leave this permanently open with an old 500ml plastic milk container underneath. When it rains, the water travels through the 4 layers of my wormery and drips out through the tap. I then collect the brown, nutrient-rich liquid in my container and dilute it in my watering can to use on my plants. The rule apparently is weekly weakly in that the water in the can should look like the colour of weak tea.
If you would like to start producing compost in a wormery then this website is informative: https://verticalveg.org.uk/how-to-look-after-and-feed-your-wormery/
If you would like to buy a wormery then this site shows you the best 9 on the market: https://www.gardenersworld.com/product-guides/nature/best-wormeries/
My wormery at home is similar to #3 – the Tiger Wormery, named because wormeries have tiger worms not earthworms!
Hot composting

Hot composting is a brilliant way of recycling your vegetable and fruit waste into beautiful feed for your garden. If you have a large space you might want to experiment with a 4-bay composting system built from old pallets which can produce good quality compost in as little as 2 months. We have implemented this system at the community farm project that I volunteer at. Here’s how it works:
- We use the bay on the left to store our ‘greens’ (vegetable and fruit waste, grass cuttings, garden waste, etc)
- We use another bay (not pictured) for our ‘browns’ (cardboard, wood chip, newspaper, straw)
- We layer greens and browns in the middle bay (roughly 50/50 of each) then stick the thermometer in, cover it with a sheet of thick plastic and weigh it down with a few bricks and planks. We check the temperature every couple of days, aiming for it to get to around 60 degrees centigrade
- Once the temperature starts falling we turn the compost into the bay on the right. This gets air into the layers and helps the decomposition process further
- We turn it one more time back into the middle bay. The compost is ready to use once it looks nicely brown and crumbly!
It’s well worth watching Charles Dowding explaining how he creates his own compost at home here.

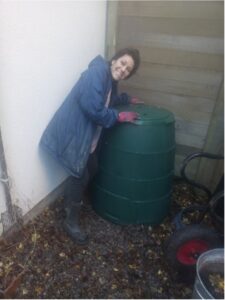
If this all looks rather complicated, industrial and plain hard work then fear not! There are other more user-friendly options available that can operate very well in your back garden. Bring on the Green Johanna…
I bought this two years ago and have been producing compost for my garden quite efficiently with it during that time. The process works in the same way as for the 4-bay system in that you put a layer of small twigs at the bottom then continue with greens and browns until it’s full. I also add bokashi bran (https://www.greengardener.co.uk/product/bokashi-bran-1kg/) to each food waste layer to speed up the decomposing process. However I find that my Green Johanna takes longer to produce compost than our system on the farm, possibly because it doesn’t get that hot as it’s situated in a shady spot.
The advantage of a hot composter like this is that you can put all your food waste in it: egg shells, dairy such as cheese and yoghurt, old bread and cakes, grains, etc. If you eat meat then bones, fat, skin and other waste can also be added. Recycling doesn’t get any better than this! The one drawback I’ve found is that it occasionally gets a black fly infestation – to be assaulted by a cloud of flies every time you open the lid isn’t nice. Covering the top layer with sawdust, used compost or a couple of centimetres of earth sorts them out as it stops them breeding. Hooray.
If you would like to buy your own Green Johanna then follow this link: https://www.greatgreensystems.com/shop/green-johanna-330-litre-hot-composter
Alternatively there are other hot composters listed here: https://www.expertreviews.co.uk/garden/1413671/best-compost-bins